
Step 1 cut a piece of ribbon long enough to fit your card with some to overlap:

Step 2. Adhere the overlap to the back of your card. I like to use masking tape, just to be sure it isn't going anywhere:

Step 3, slide a second piece of ribbon (still attached to the spool - or you can cut a second piece about as long as the first)under the ribbon:

Step 4 "fold" the top piece over the bottom of the "knot" part, a fellow crafter described this as what the Awareness Ribbons look like:

Step 5 tuck the tail of the top piece into the "hole":

Step 6 Pull ribbon tight. If you have a two sided ribbon, like I used, flip the top piece over so you can see the design before you pull it tight:

Here's what it will look like, You can make the tails of the knot longer or shorter according to your preference:
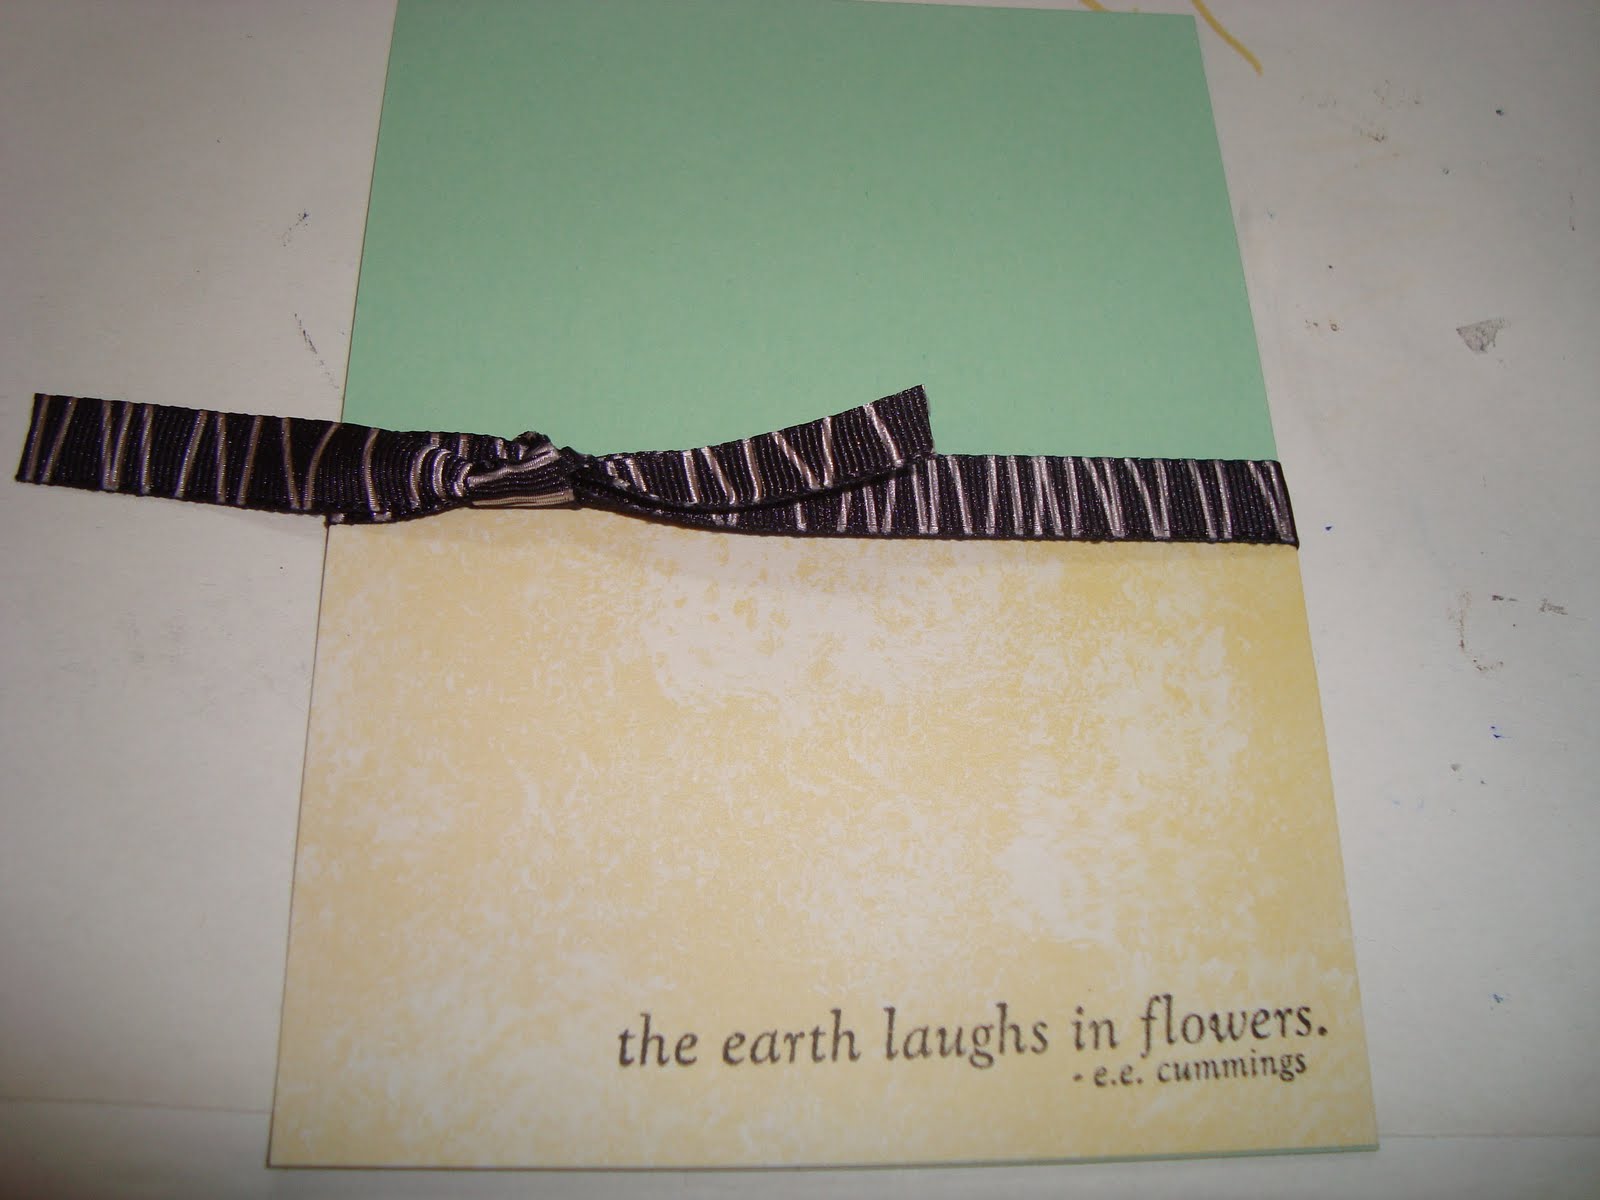
The part I love about this knot, is if the knot isn't where you want it, take a hold of one of the tails and slide it until the knot is where you would like it. If you want shorter tails, just trim them down. You can also pull the tails in a different direction if you'd like.

I hope this helps anyone who was having trouble!
No comments:
Post a Comment